This article will demonstrate a technique that uses part of CSS3 that is also unsupported by Internet Explorer 8. However, it doesn’t matter as one of the most useful places for this module is somewhere that does have a lot of support - small devices such as the iPhone, and Android devices.
CSS3 continues to both excite and frustrate web designers and developers. We are excited about the possibilities that CSS3 brings, and the problems it will solve, but also frustrated by the lack of support in Internet Explorer 8. This article will demonstrate a technique that uses part of CSS3 that is also unsupported by Internet Explorer 8. However, it doesn’t matter as one of the most useful places for this module is somewhere that does have a lot of support — small devices such as the iPhone, and Android devices.
In this article I'll explain how, with a few CSS rules, you can create an iPhone version of your site using CSS3, that will work now. We'll have a look at a very simple example and I'll also discuss the process of adding a small screen device stylesheet to my own site to show how easily we can add stylesheets for mobile devices to existing websites.
Media Queries
If you have ever created a print stylesheet for a website then you will be familiar with the idea of creating a specific stylesheet to come into play under certain conditions - in the case of a print stylesheet when the page is printed. This functionality was enabled in CSS2 by media types. Media Types let you specify a type of media to target, so you could target print, handheld and so on. Unfortunately these media types never gained a lot of support by devices and, other than the print media type, you will rarely see them in use.
The Media Queries in CSS3 take this idea and extend it. Rather than looking for a type of device they look at the capability of the device, and you can use them to check for all kinds of things. For example:
- width and height (of the browser window)
- device width and height
- orientation - for example is a phone in landscape or portrait mode?
- resolution
If the user has a browser that supports media queries then we can write CSS specifically for certain situations. For example, detecting that the user has a small device like a smart phone of some description and giving them a specific layout. To see an example of this in practice, the UK web conference dConstruct has just launched their website for the 2010 conference and this uses media queries to great effect.

The dConstruct 2010 website in Safari on a desktop computer

The dConstruct 2010 website on an iPhone
You can see from the above example that the site hasn’t just been made smaller to fit, but that the content has actually been re-architected to be made more easy to access on the small screen of the device. In addition many people might think of this as being an iPhone layout - but it isn’t. It displays in the same way on Opera Mini on my Android based phone - so by using media queries and targeting the device capabilities the dConstruct site caters for all sorts of devices - even ones they might not have thought of!
Using Media Queries to create a stylesheet for phones
To get started we can take a look at a very simple example. The below layout is a very simple two column layout.
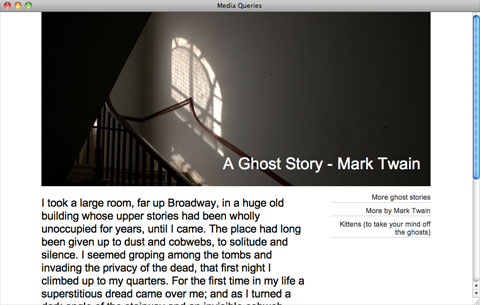
A very simple two column layout
To make it easier to read on a phone I have decided to linearize the entire design making it all one column, and also to make the header area much smaller so readers don’t need to scroll past the header before getting to any content.
The first way to use media queries is to have the alternate section of CSS right inside your single stylesheet. So to target small devices we can use the following syntax:
We can then add our alternate CSS for small screen and width devices inside the curly braces. By using the cascade we can simply overwrite any styles rules we set for desktop browsers earlier in our CSS. As long as this section comes last in your CSS it will overwrite the previous rules. So, to linearize our layout and use a smaller header graphic I can add the following:
In the code above I am using an alternate background image and reducing the height of the header, then setting the content and navigation to float none and overwriting the width set earlier in the stylesheet. These rules only come into play on a small screen device.

My simple example as displayed on an iPhone
Linking a separate stylesheet using media queries
Adding the specific code for devices inline might be a good way to use media queries if you only need to make a few changes, however if your stylesheet contains a lot of overwriting or you want to completely separate the styles shown to desktop browsers and those used for small screen devices, then linking in a different stylesheet will enable you to keep the CSS separate.
To add a separate stylesheet after your main stylesheet and use the cascade to overwrite the rules, use the following.
Testing media queries #
If you are the owner of an iPhone, Android device or other device that has a browser which supports media queries you can test your CSS yourself. However you will need to upload the code somewhere in order to view it. What about testing devices you don’t own and testing locally?
An excellent site that can help you during the development process is ProtoFluid. This application gives you a form to enter your URL - which can be a local URL - and view the design as if in the browser on an iPhone, iPad or a range of other devices. The screenshot below is the dConstruct site we looked at earlier as seen through the iPhone view on ProtoFluid.
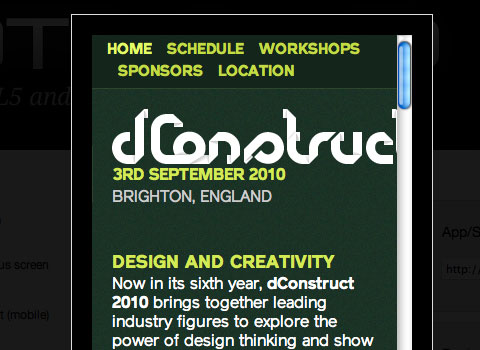
The dConstruct 2010 website in ProtoFluid
You can also enter in your own window size if you have a specific device you want to test for and know the dimensions of it’s screen.
To use ProtoFluid you need to slightly modify the media query shown earlier to include max-width as well as max-device-width. This means that the media query also comes into play if the user has a normal desktop browser but using a very tiny window.
After updating your code to the above, just refresh your page in the browser and then drag the window in and you should see the layout change as it hits 480 pixels. The media queries are now reacting when the viewport width hits the value you entered.
You are now all ready to test using ProtoFluid. The real beauty of ProtoFluid is that you can still use tools such as FireBug to tweak your design, something you won’t have once on the iPhone. Obviously you should still try and get a look at your layout in as many devices as possible, but ProtoFluid makes development and testing much simpler.
Note that if you don’t want your site to switch layout when someone drags their window narrow you can always remove the max-width part of the query before going live, so the effect only happens for people with a small device and not just a small browser window.
Retrofitting an existing site
I have kept the example above very simple in order to demonstrate the technique. However this technique could very easily be used to retrofit an existing site with a version for small screen devices. One of the big selling points of using CSS for layout was this ability to provide alternate versions of our design. As an experiment I decided to take my own business website and apply these techniques to the layout.
The desktop layout #
The website for my business currently has a multi-column layout. The homepage is a little different but in general we have a fixed width 3 column layout. This design is a couple of years old so we didn’t consider media queries when building it.
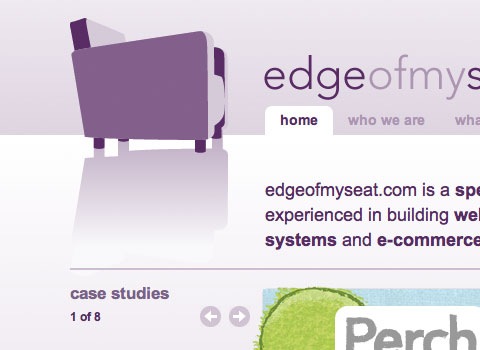
My site in a desktop browser
Adding the new stylesheet
There will be a number of changes that I need to make to linearize this layout so I’m going to add a separate stylesheet using media queries to load this stylesheet after the current stylesheet and only if the max-width is less than 480 pixels.
To create my new stylesheet I take the default stylesheet for the site and save it as small-device.css. So this starts life as a copy of my main stylesheet. What I am going to do is go through and overwrite certain rules and then delete anything I don’t need.
Shrinking the header
The first thing I want to do is make the logo fit nicely on screen for small devices. As the logo is a background image this is easy to do as I can load a different logo in this stylesheet. I also have a different background image with a shorter top area over which the logo sits.
Linearizing the layout
The next main job is to linearize the layout and make it all one column. The desktop layout is created using floats so all I need to do is find the rules that float the columns, set them to float: none and width:auto. This drops all the columns one under another.
Tidying up
Everything after this point is really just a case of looking at the layout in ProtoFluid and tweaking it to give sensible amounts of margin and padding to areas that now are stacked rather than in columns. Being able to use Firebug in ProtoFluid makes this job much easier as my workflow mainly involves playing around using Firebug until I am happy with the effect and then copying that CSS into the stylesheet.
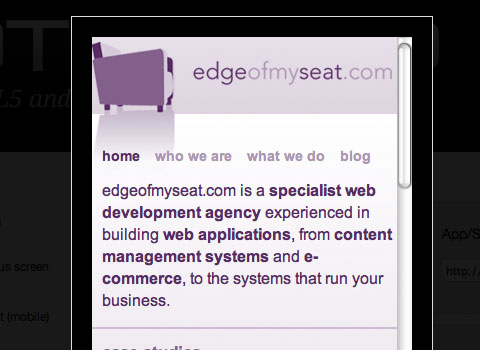
Testing the site using ProtoFluid
Testing in an iPhone #
Having created my stylesheet and uploading it I wanted to check how it worked in a real target device. In the iPhone I discovered that the site still loaded zoomed out rather than zooming in on my nice readable single column. A quick search on the Safari developer website gave me my answer - to add a meta tag to the head of the website setting the width of the viewport to the device width.
After adding the meta tag the site now displays zoomed in one the single column.

The site as it now displays on an iPhone
This was a very simple retrofit to show that it is possible to add a mobile version of your site simply. If I was building a site from scratch that I would be using media queries on, there are definitely certain choices I would make to make the process simpler. For example considering the linearized column orders, using background images where possible as these can be switched using CSS - or perhaps using fluid images.
Our desktop layout features a case studies carousel on the homepage, this wasn’t easy to interact with on a touch screen device and so I checked using JavaScript if the browser window was very narrow and didn’t launch the carousel. The way this was already written meant that the effect of stopping the carousel loading was that one case study would appear on the screen, which seems a reasonable solution for people on a small device. With a bit more time I could rewrite that carousel with an alternate version for users of mobile devices, perhaps with interactions more suitable to a touch screen.
More resources
This is a relatively new technique but already there are some excellent tutorials on the subject of media queries. If you know of others then please post them in the comments.
- A List Apart - Responsive Web Design
- Sitepoint CSS Reference - Media Queries
- Targeting the iPhone 4 Retina Display with CSS3 Media Queries
- Aral Balkan: How to make your web content look stunning on the iPhone 4’s new Retina Display
- Stuff and Nonsense: Proportional leading with CSS3 Media Queries
- Matthew James Taylor: iPad layout with landscape and portrait modes
Providing support for Media Queries in older browsers
This article covers the use of media queries in devices that have native support. If you are only interested in supporting iPhone and commonly used mobile browsers such as Opera Mini you have the luxury of not needing to worry about non-supporting browsers. If you want to start using media queries in desktop browsers then you might be interested to discover that there are a couple of techniques available which use JavaScript to add support to browsers such as Internet Explorer 8 (and lower versions) and Firefox prior to 3.5. Internet Explorer 9 will have support for CSS3 Media Queries.
- Media Queries section on When Can I Use, showing which browsers have support
- css3-mediaqueries-js - a library that aims to add media query support to non-supporting browsers
More inspiration
To see more interesting use of Media Queries have a look at Hicksdesign where Jon Hicks has used Media Queries to not only provide a better experience for mobile device users, but also for regular web browser users with smaller windows. Also, have a look at Simon Collison’s website and Ed Merritt’s portfolio for other examples of this technique.
Try it for yourself
Using Media Queries is one place you can really start to use CSS3 in your daily work. It is worth remembering that the browsers that support media queries also support lots of other CSS3 properties so your stylesheets that target these devices can also use other CSS3 to create a slick effect when viewed on an iPhone or other mobile device. If you have implemented media queries on your site, or try this technique after reading this article, let us know in the comments.Do You Need A Media Query? The first rule of using media queries is to ask yourself if you really need to use a Media Query at all. In this article, Rachel Andrew will take a look at the use of media queries for responsive design today, how they work alongside Flexbox and Grid Layout, and also have a look at what is coming in the future.
I thought it would be a nice idea to revisit that subject, now that we have layout methods such as Flexbox and Grid Layout. This article will take a look at the use of media queries for responsive design today, and also have a look at what is coming in the future.
Taking A Closer Look At BFC
If you’ve ever made a layout with CSS, you probably know what BFC is. Understanding why it works and how to create one is useful and can help you to understand how layout works in CSS.
Do You Need A Media Query At All?
The first rule of using media queries in 2018 is to ask yourself if you need to use a Media Query at all. When building layouts using floats, we create a flexible grid by calculating the size of our columns using percentages. We work these percentages out using the method Ethan Marcotte outlined in his article on Fluid Grids, which formed the basis of the technique we now know as “responsive design.” If we then want to change the size or proportions of these columns, we have to add a breakpoint using a Media Query and redefine them. We have no other options when working in percentages, as they will always be the same percentage of the container they are in, whether that container is wide or narrow.
Flexbox and Grid Layout, along with Multi-column layout are responsive by default. These specifications were written in a world where responsive design and supporting multiple devices was already a thing. This means that they include a lot of common sense functionality, which enables responsive design without us needing to do much.
In this CodePen, I have examples of flexible Multicol, Flexbox and Grid components, all which resize and change their layout according to the space available. No media queries in use here, and very few lines of CSS.
We can create flexible components which will lay out differently according to screen space, without the use of media queries, by utilizing the built-in flexibility of these layout methods. For example, a media object that you would like to display as a column when there is limited space and as a row when there is more space. This can be achieved with a few lines of CSS.
As the flex-basis for our flex items is 250 pixels. If there is no space for two 250 pixel items, they will wrap; since they can grow (flex-grow is a positive value), they will grow and fill the lines once wrapped.
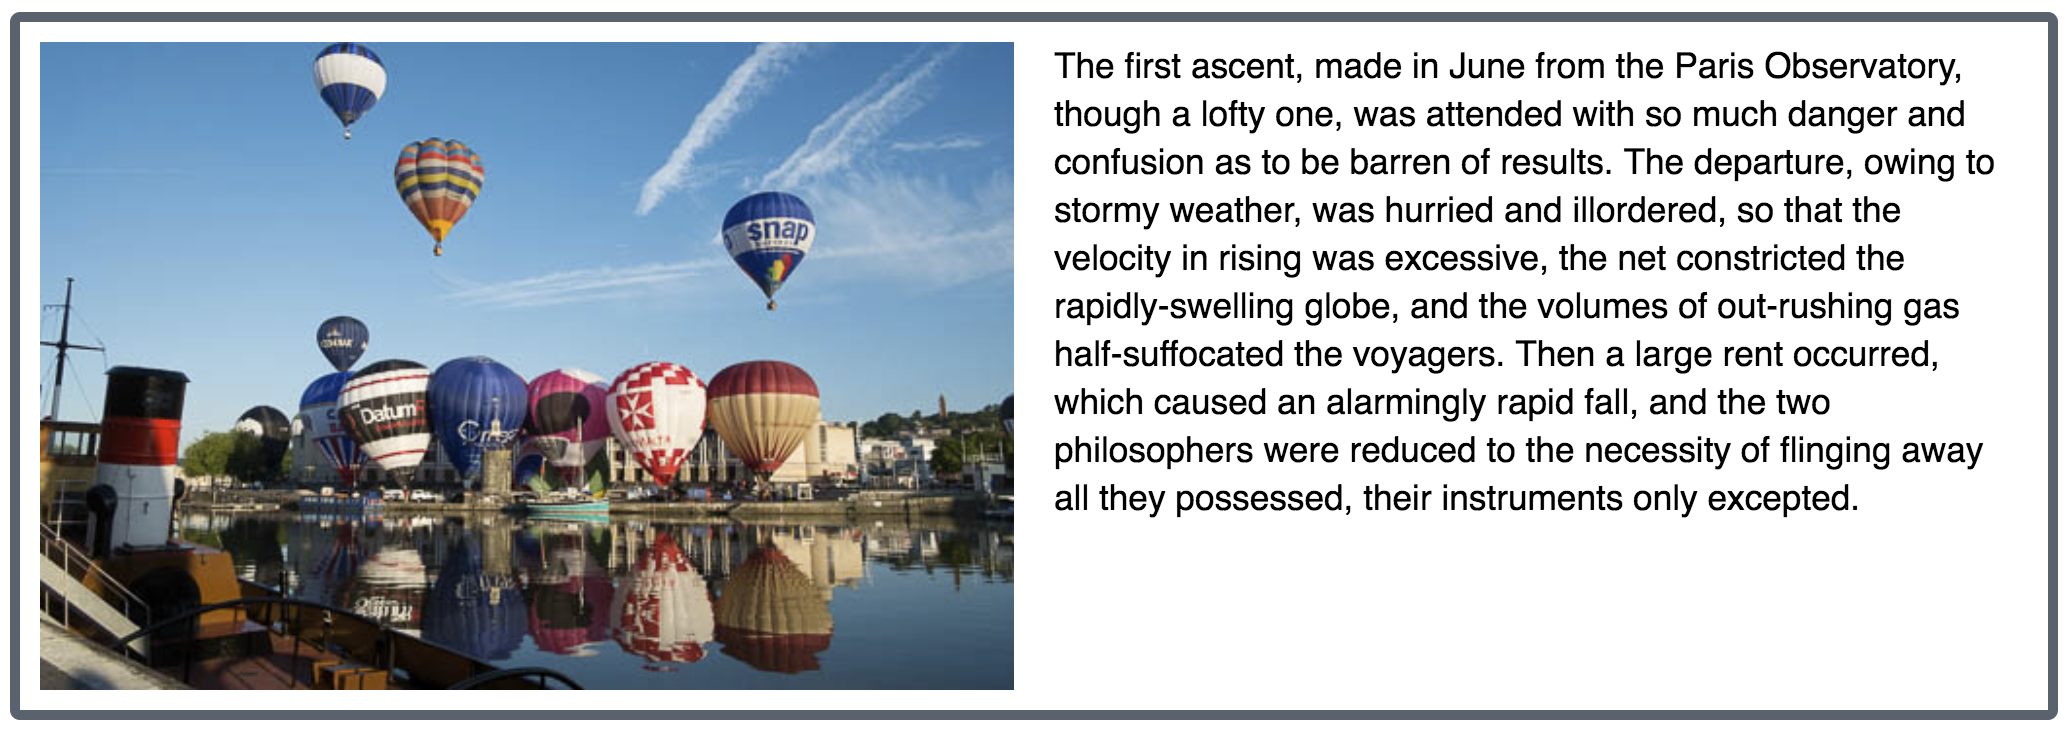
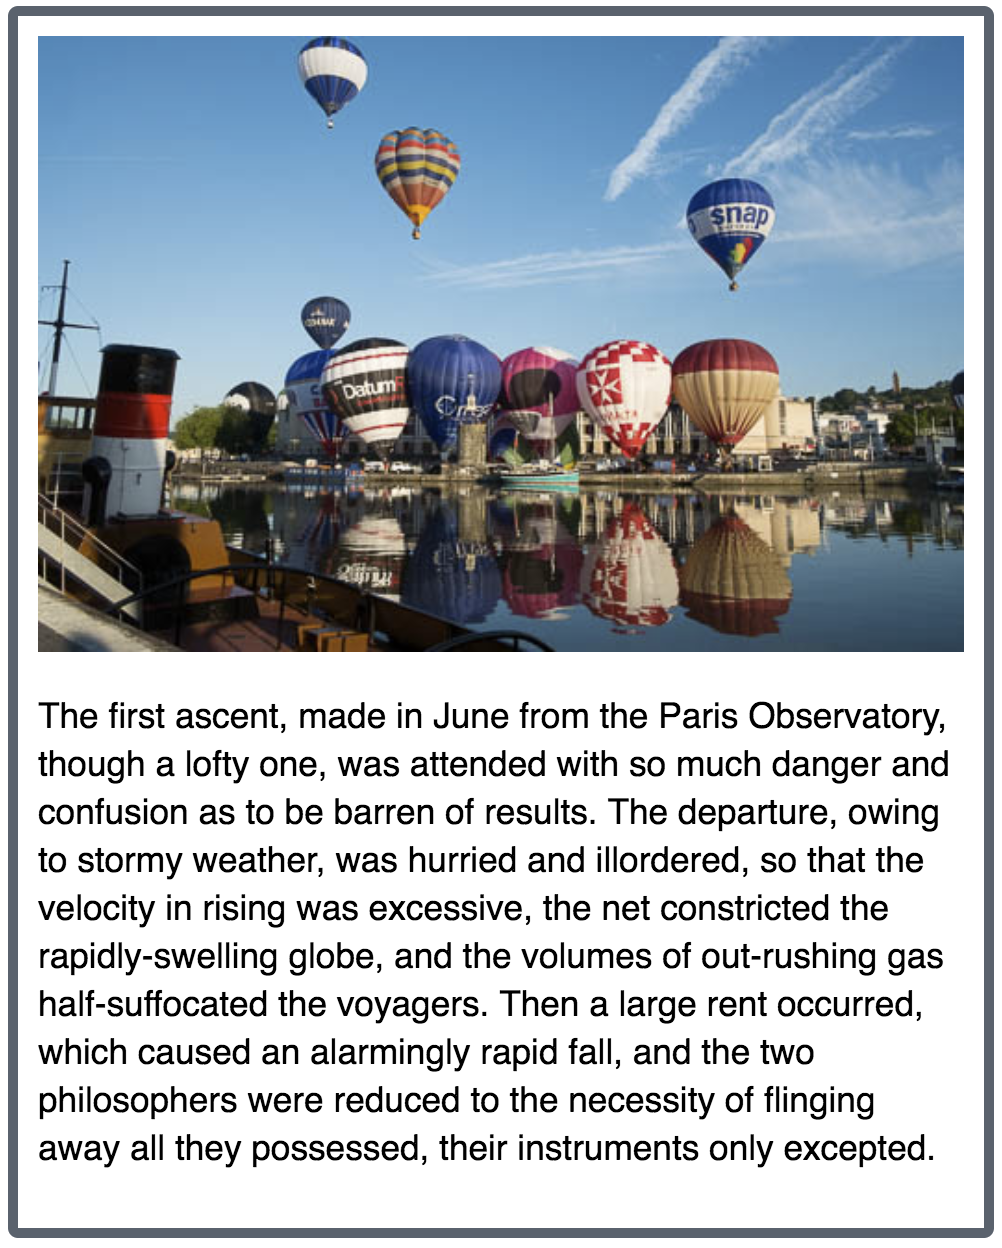
One of the nice things about using Flexbox in this way is that the component behaves like this whether the space is restricted by screen size, or because the component has been placed into a context where it has less space in the container. Media queries can’t solve this problem as they only look at features of the entire screen, and so in this way, new layout gives us something media queries can’t.
You can see the component constrained by the viewport (resize the window to see the flexibility) and by a wrapping element, in the below CodePen.
When you need to do more, that’s the time to throw in a Media Query. Media queries and Grid work incredibly well together, as you can completely redefine the grid if you want to, with a line of CSS, or redefine where items sit on your grid. You don’t need to change anything about the markup to do so. I start with a single column grid for narrow widths.
I then use a Media Query to redefine how many column tracks my grid has, and to cause some items to span multiple grid tracks in the now larger grid.
Combining carefully applied media queries along with the inherent responsiveness of these new layout methods gives you a lot of power to make best use of screen real estate, and provide the best experiences to your users on whatever device they are using. In this next CodePen, I have combined the layout above, with the Media Object created earlier. You can see how as we have less screen space, the layout transforms due to the Media Query, and when the content area becomes too narrow, the component collapses down to one column — without referring to a Media Query.
Media Queries Best Practices
As we have seen, media queries haven’t gone away, but the way we are using them is changing. Here are some tips for making the most of using media queries in 2018.
Don’t Target Devices, Add Breakpoints When The Design Breaks #
When we first began using media queries, we only had a very few devices to worry about. In reality, most people were worried about the iPhone. Within months, however, devices and device sizes proliferated. It makes no sense to target individual devices anymore. Instead, add breakpoints where your design breaks. If you start with your design for the smallest device and start to drag your browser window wider, when do the lines become too long to read comfortably? When could you make better use of the screen? That is the point at which to add a Media Query and write some additional CSS.
Working in this way means that any device coming in under that breakpoint gets the narrow layout, and anything coming in over that breakpoint gets the layout making more use of horizontal screen space. It doesn’t matter if the device is an iPhone, a Samsung phone or a web designer playing about with their browser window.
It’s Not All About Pixels
When creating your breakpoints, consider moving away from pixels. Line lengths becoming too long is a good indicator of the design “breaking” and requiring a breakpoint. A better way to indicate that than pixels is the em unit, as that will give a consistent result if the user has larger text that you expected.
Take Extra Care When Reordering Flex And Grid Items
A tantalizing possibility of Grid Layout, and to a lesser extent flexbox, is that of being able to rearrange the layout at different breakpoints. While this may provide an excellent experience for users who navigate on the desktop with keyboard and mouse, and on a phone using their finger, it can create a confusing and disjointed experience for some users. In particular users with poor vision who use a screen reader but can also see much of what is on the screen, and those users who navigate using a keyboard or some device other than a mouse or their finger on a screen.
These users jump from heading to heading, link to link and their devices will be following the order that the items are listed in the document source, not the order they display on screen. Make sure that if you do any content reordering at different breakpoints, you test to make sure that the navigation experience for some using the keyboard remains usable.
Note: For more details on this issue read “Flexbox and the keyboard navigation disconnect.”
Don’t Forget Vertical Media Queries #
We tend to think about media queries for the width of devices, ensuring that there is enough horizontal screen real estate to display multiple columns of content. You can also use media queries to test for available height.
One place that these vertical, or height-based media queries can be useful is in making sure the screen has enough height to display content laid out using multi-column layout, without the user needing to scroll up and down to see the content in each column. In the CSS below, multi-column layout will only make columns if there is enough space to have two 15em columns, and so doesn’t need a width media query to make it behave in a responsive manner. I have added a min-height media query, to text for a reasonable height before kicking in the columns. If this is a small screen in landscape mode, I’ll only show one column so the user can scroll down to read.
Media Queries Level 4: What Can We Expect?
The media queries we have been using for Responsive Design so far, come from the media queries Level 3 specification. A new media queries specification is under development at the CSS Working Group, Media Queries Level 4. That specification will bring some changes to syntax, and some new functionality. Not everything here is implemented in browsers yet but it is interesting to see what might be coming soon, to help us create user interfaces that work well with the wide range of devices and output formats we have.
Detecting Pointer Type Rather Than Screen Size
Screen size is a fairly rough way to decide what type of device a user is on, and the way that they are interacting with it. Many small screened devices are incredibly capable mini-computers — therefore a user might be working on their phone with an external keyboard and mouse with a small screen size, but be perfectly capable of clicking on small elements. A user might also be using a large tablet, they have plenty of screen real estate and so don’t want a mobile layout. They are, however, using their finger as the pointing device, so they don’t have the ability to hover, and their fingers are not as precise as a mouse pointer when selecting things.
When screen size was all we had, then making assumptions based on it was all we could do, but this is changing. We can look to better metrics, and use these features in combination when tailoring our UI for different users. What might be a more useful indicator of device is what type of pointer the user has, and whether they have the ability to hover over elements on the page. It is these features that the Interaction Media Features expose to media queries, and the examples below will work in current versions of Chrome, Safari, and Edge. You can check Can I Use for the full support list.
In the CodePen below — which you can test with any supporting browser on devices you have to hand — I’m using generated content to write out what type of device I think you are using. To test for the type of pointer you have, I use the following code:
To see if you can hover, I test for the hover feature:
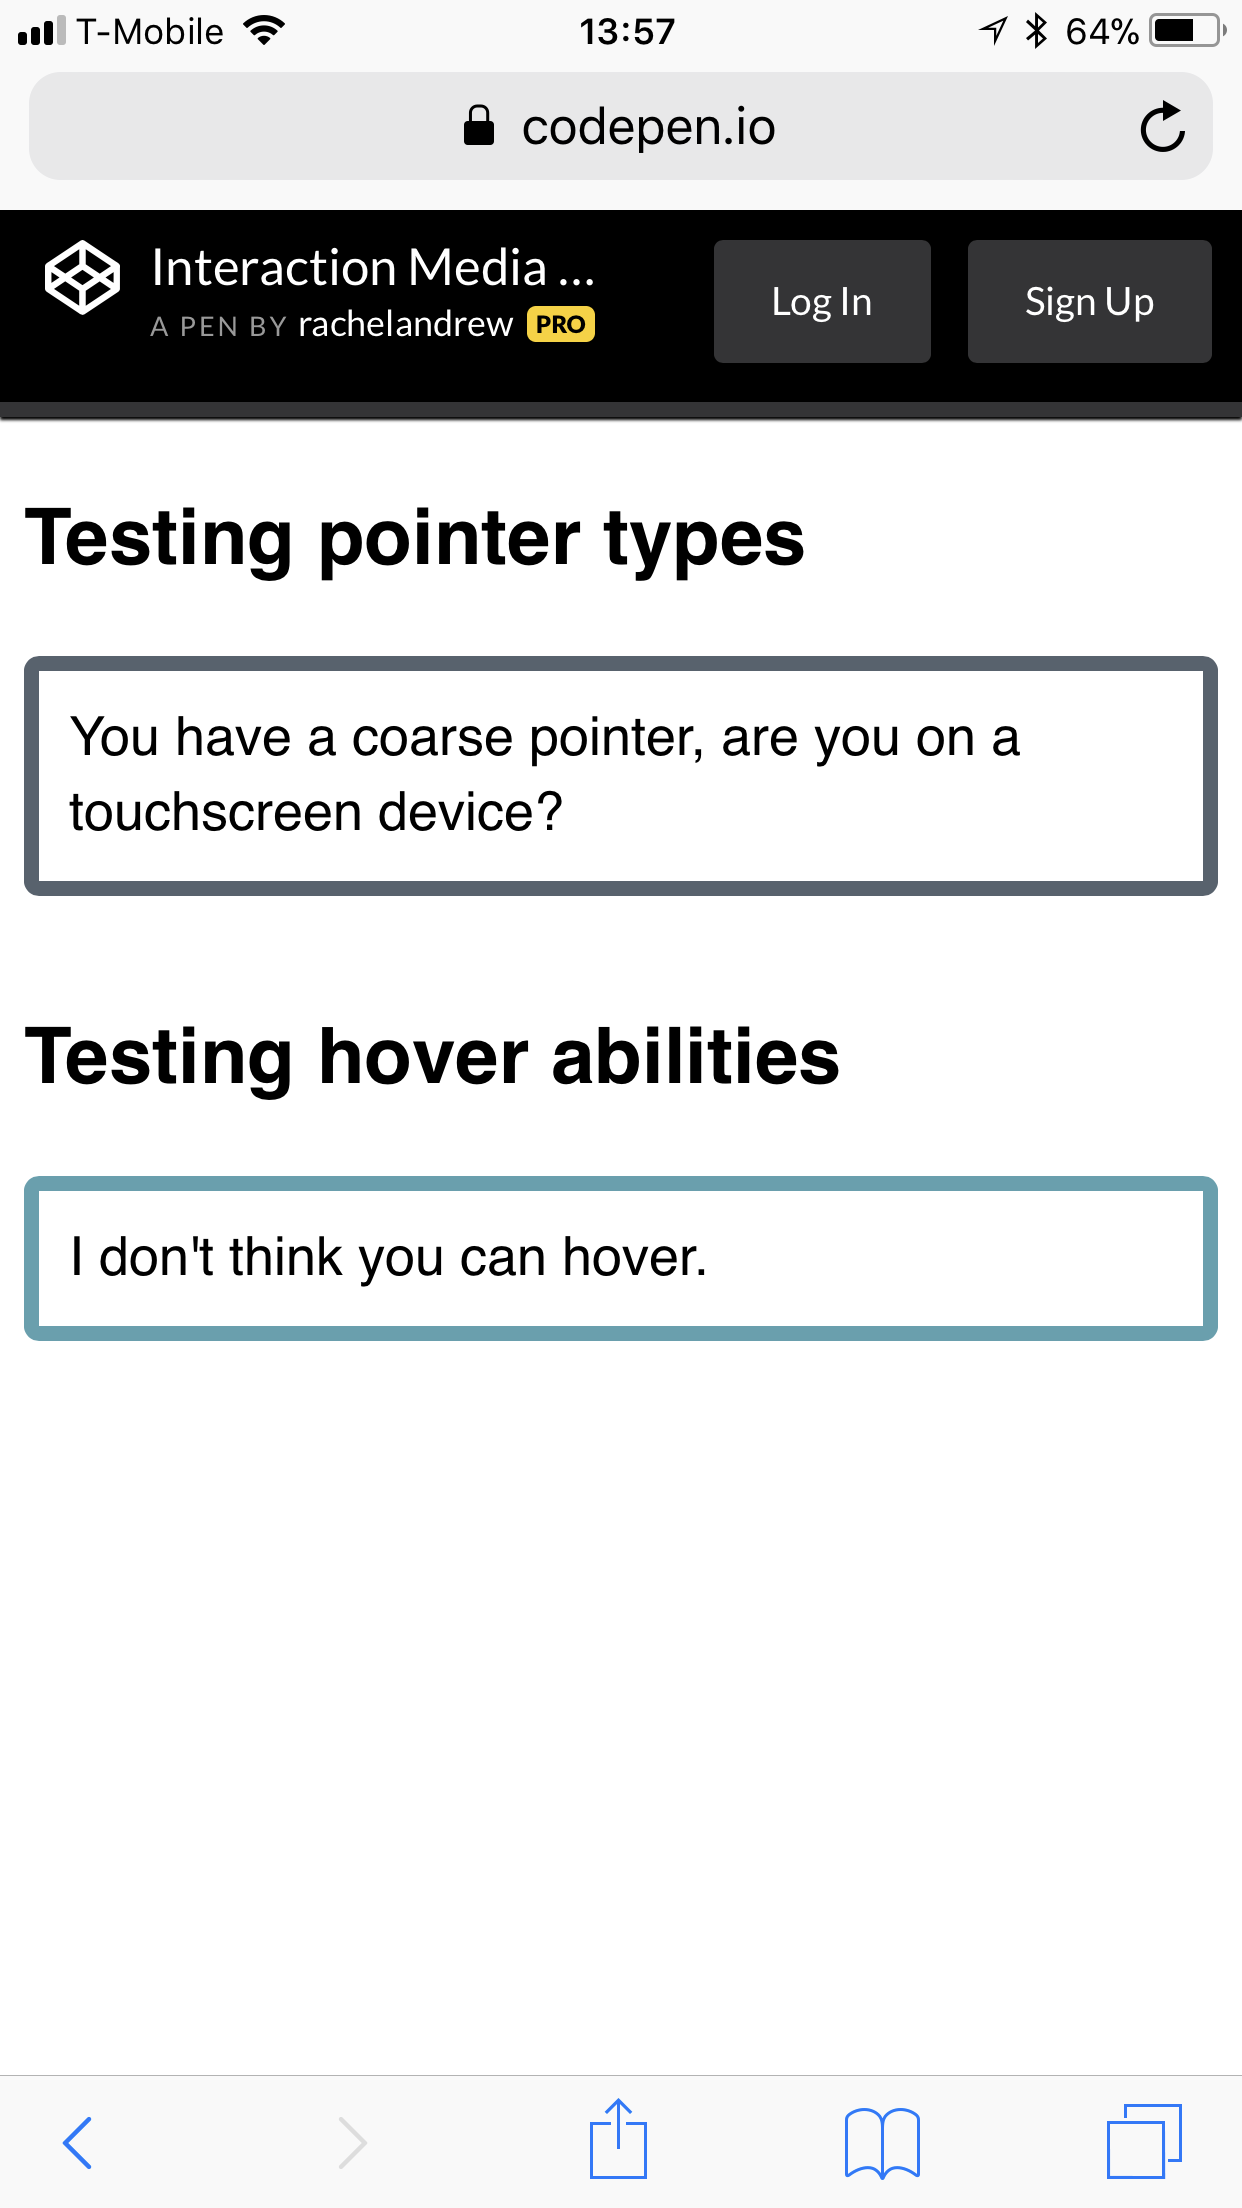
Check it out for yourself in the CodePen.
There is also an any-pointer and any-hover feature, which tests the capability of any of the pointing devices a user has to hand — as opposed to the primary pointing device tested by pointer and hover. I’d suggest that you should take great care in using these, as making a user switch from their primary pointing device is likely to result in a poor user experience. The spec suggests:
“Designing a page that relies on hovering or accurate pointing only because any-hover or any-pointer indicate that at least one of the available input mechanisms has these capabilities is likely to result in a poor experience. However, authors may use this information to inform their decision about the style and functionality they wish to provide based on any additional pointing devices that are available to the user.”
Firefox is the browser lagging behind on implementing Interaction Media Features, you can follow and star the tracking bug here, so hopefully we will see them with across the board support soon.
Overflow Detection With Display Quality Media Features
As yet unimplemented is the overflow-block feature of the Display Quality Media Features with the ability to test for how the media behaves when content overflows.
When content overflows, different media has to deal with this indifferent ways. The standard way that a computer screen or a tablet will deal with this is to scroll. Some devices — such as a billboard displaying digital advertising — cannot overflow at all. We also have paged media, if you are outputting content to print.
Therefore, another useful thing to look at, when determining what device your content is being displayed on, is the overflow: block feature. For example, if you want to detect some kind of paged media you could test.
Syntax Changes #
Media queries — as we have come to know them — can end up being somewhat verbose; in level 4 are some changes to syntax to help with that. For example, we often want to specify a range, such as the below Media Query which looks for a width between 40em and 59em.
We could rewrite this as a range:
What we are saying in the second example is that width needs to be greater than or equal to 40em and also less than or equal to 59em; in a much less verbose way that the prefixed with min- and max- width feature of the first example. You will still be able to use the old way of doing things; it isn’t about to be removed. However, a less verbose alternative seems to be a bonus.
Media queries are still a useful tool that we have at our disposal as we create responsive layouts. I’ve seen people jumping through hoops with Grid to try to avoid invoking one, yet there is no reason to avoid useful media queries. As I hope I’ve demonstrated, there are also new and useful features coming which will help us enhance our user interfaces for more users. To read more, here are some additional references, articles, and presentations. Some of these I used when preparing this article, others make for additional useful reading.
- “7 Habits of Highly Effective Media Queries,” Brad Frost
- “Vertical Media Queries and Wide Sites,” Trent Walton
- “Media Queries 4,” Florian Rivoal, dotCSS 2017
- “Interaction Media Features and their Potential (for incorrect assumptions),” Patrick H. Lauke, Dev.Opera


No comments:
Post a Comment