A design system is more than just a set of colors and buttons. It’s a shared language that helps designers and developers build good products together. At its core, a design system includes tokens (like colors, spacing, fonts), components (such as buttons, forms, navigation), plus the rules and documentation that tie all together across projects.
If you’ve ever used systems like Google Material Design or Shopify Polaris, for example, then you’ve seen how design systems set clear expectations for structure and behavior, making teamwork smoother and faster. But while design systems promote consistency, keeping everything in sync is the hard part. Update a token in Figma, like a color or spacing value, and that change has to show up in the code, the documentation, and everywhere else it’s used.
The same thing goes for components: when a button’s behavior changes, it needs to update across the whole system. That’s where the right tools and a bit of automation can make the difference. They help reduce repetitive work and keep the system easier to manage as it grows.
In this article, we’ll cover a variety of tools and techniques for syncing tokens, updating components, and keeping docs up to date, showing how automation can make all of it easier.
The Building Blocks Of Automation
Let’s start with the basics. Color, typography, spacing, radii, shadows, and all the tiny values that make up your visual language are known as design tokens, and they’re meant to be the single source of truth for the UI. You’ll see them in design software like Figma, in code, in style guides, and in documentation. Smashing Magazine has covered them before in great detail.
The problem is that they often go out of sync, such as when a color or component changes in design but doesn’t get updated in the code. The more your team grows or changes, the more these mismatches show up; not because people aren’t paying attention, but because manual syncing just doesn’t scale. That’s why automating tokens is usually the first thing teams should consider doing when they start building a design system. That way, instead of writing the same color value in Figma and then again in a configuration file, you pull from a shared token source and let that drive both design and development.
There are a few tools that are designed to help make this easier.
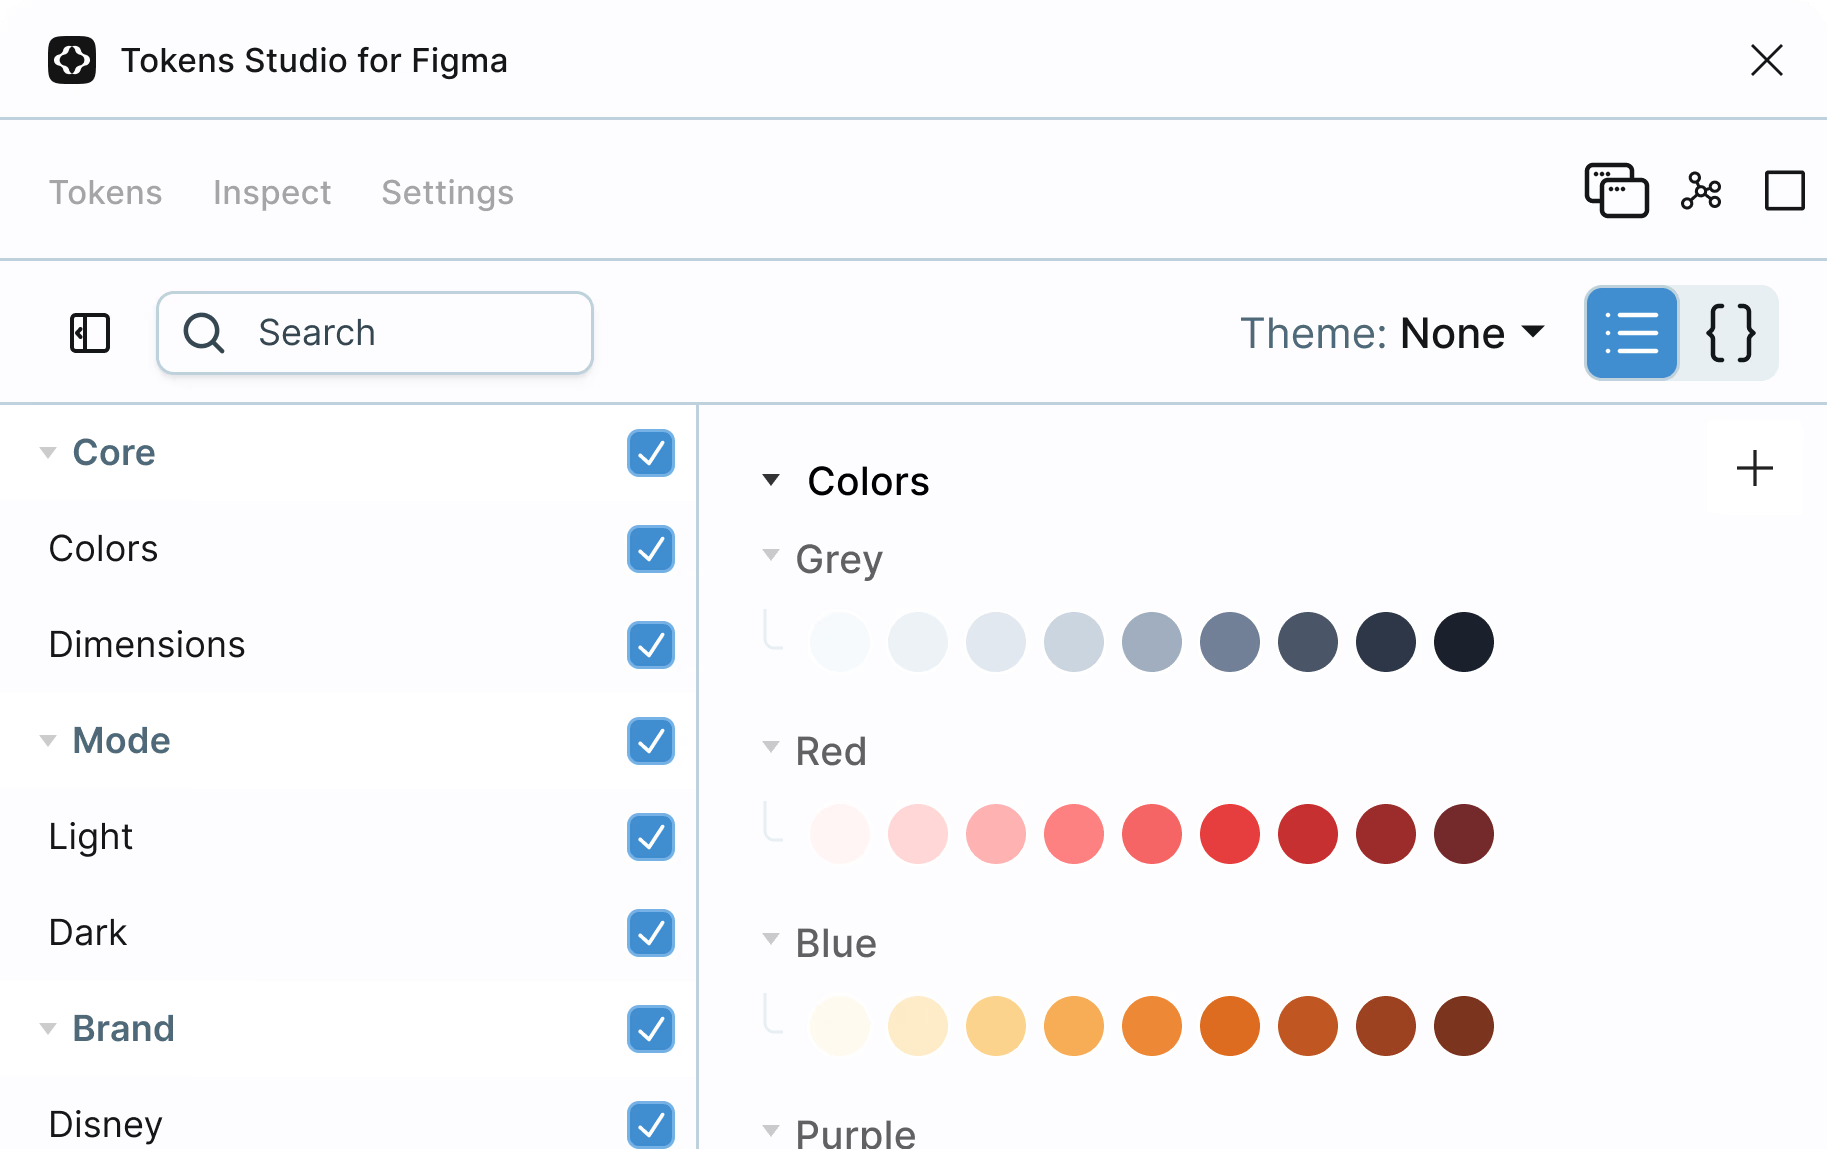
Token Studio #
Token Studio is a Figma plugin that lets you manage design tokens directly in your file, export them to different formats, and sync them to code.
Specify #
Specify lets you collect tokens from Figma and push them to different targets, including GitHub repositories, continuous integration pipelines, documentation, and more.
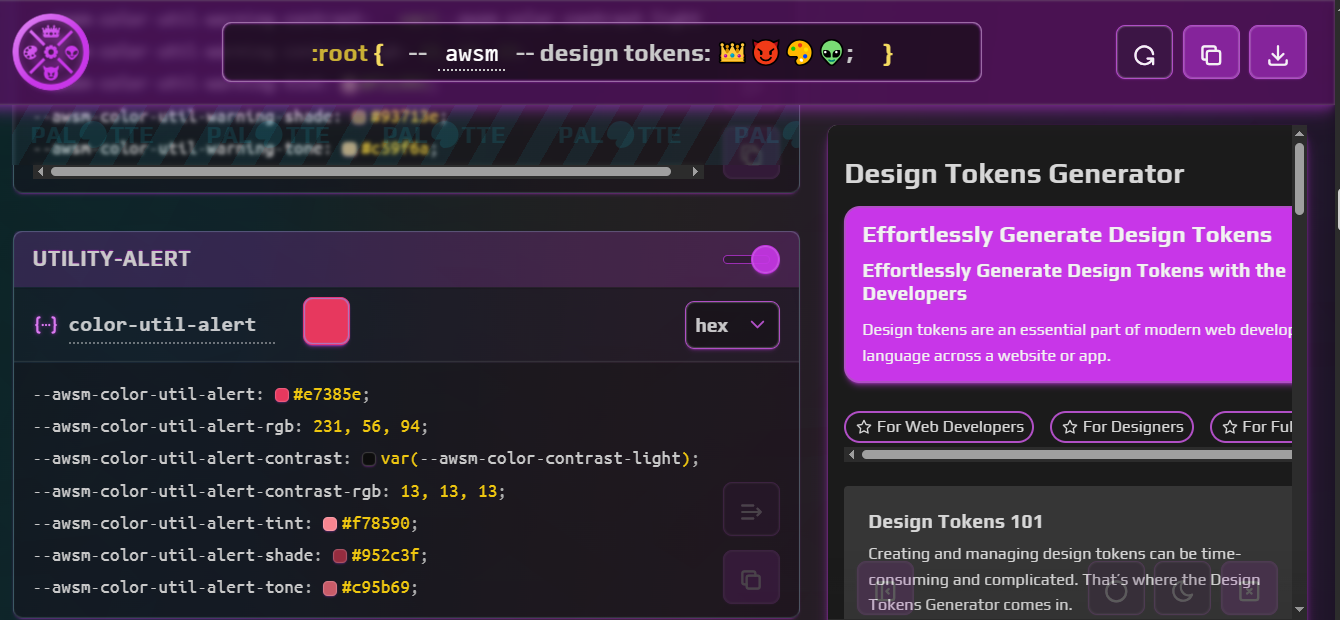
Design-tokens.dev
Design-tokens.dev is a helpful reference if you want tips for things like how to structure tokens, format them (e.g., JSON, YAML, and so on), and think about token types.
NameDesignTokens.guide #
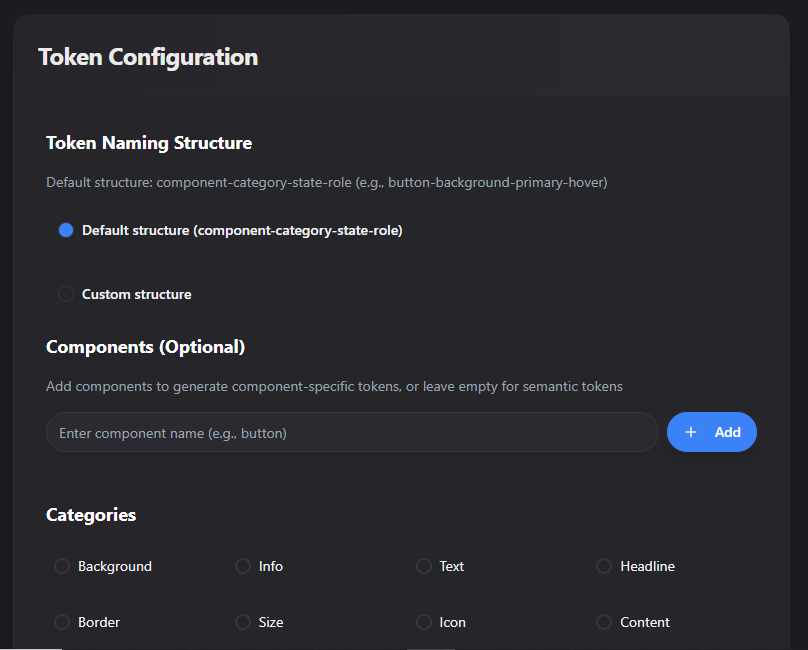
NamedDesignTokens.guide helps with naming conventions, which is honestly a common pain point, especially when you’re working with a large number of tokens.
Once your tokens are set and connected, you’ll spend way less time fixing inconsistencies. It also gives you a solid base to scale, whether that’s adding themes, switching brands, or even building systems for multiple products.
That’s also when naming really starts to count. If your tokens or components aren’t clearly named, things can get confusing quickly.
Note: Vitaly Friedman’s “How to Name Things” is worth checking out if you’re working with larger systems.
From there, it’s all about components. Tokens define the values, but components are what people actually use, e.g., buttons, inputs, cards, dropdowns — you name it. In a perfect setup, you build a component once and reuse it everywhere. But without structure, it’s easy for things to “drift” out of scope. It’s easy to end up with five versions of the same button, and what’s in code doesn’t match what’s in Figma, for example.
Automation doesn’t replace design, but rather, it connects everything to one source.
The Figma component matches the one in production, the documentation updates when the component changes, and the whole team is pulling from the same library instead of rebuilding their own version. This is where real collaboration happens.
Here are a few tools that help make that happen:
| Tool | What It Does |
|---|---|
| UXPin Merge | Lets you design using real code components. What you prototype is what gets built. |
| Supernova | Helps you publish a design system, sync design and code sources, and keep documentation up-to-date. |
| Zeroheight | Turns your Figma components into a central, browsable, and documented system for your whole team. |
How Does Everything Connect?
A lot of the work starts right inside your design application. Once your tokens and components are in place, tools like Supernova help you take it further by extracting design data, syncing it across platforms, and generating production-ready code. You don’t need to write custom scripts or use the Figma API to get value from automation; these tools handle most of it for you.
But for teams that want full control, Figma does offer an API. It lets you do things like the following:
- Pull token values (like colors, spacing, typography) directly from Figma files,
- Track changes to components and variants,
- Tead metadata (like style names, structure, or usage patterns), and
- Map which components are used where in the design.
The Figma API is REST-based, so it works well with custom scripts and automations. You don’t need a huge setup, just the right pieces. On the development side, teams usually use Node.js or Python to handle automation. For example:
- Fetch styles from Figma.
- Convert them into JSON.
- Push the values to a design token repo or directly into the codebase.
You won’t need that level of setup for most use cases, but it’s helpful to know it’s there if your team outgrows no-code tools.
- Where do your tokens and components come from?
- How do updates happen?
- What tools keep everything connected?
The workflow becomes easier to manage once that’s clear, and you spend less time trying to fix changes or mismatches. When tokens, components, and documentation stay in sync, your team moves faster and spends less time fixing the same issues.
Extracting Design Data
Figma is a collaborative design tool used to create UIs: buttons, layouts, styles, components, everything that makes up the visual language of the product. It’s also where all your design data lives, which includes the tokens we talked about earlier. This data is what we’ll extract and eventually connect to your codebase. But first, you’ll need a setup.
To follow along:
- Go to figma.com and create a free account.
- Download the Figma desktop app if you prefer working locally, but keep an eye on system requirements if you’re on an older device.
Once you’re in, you’ll see a home screen that looks something like the following:
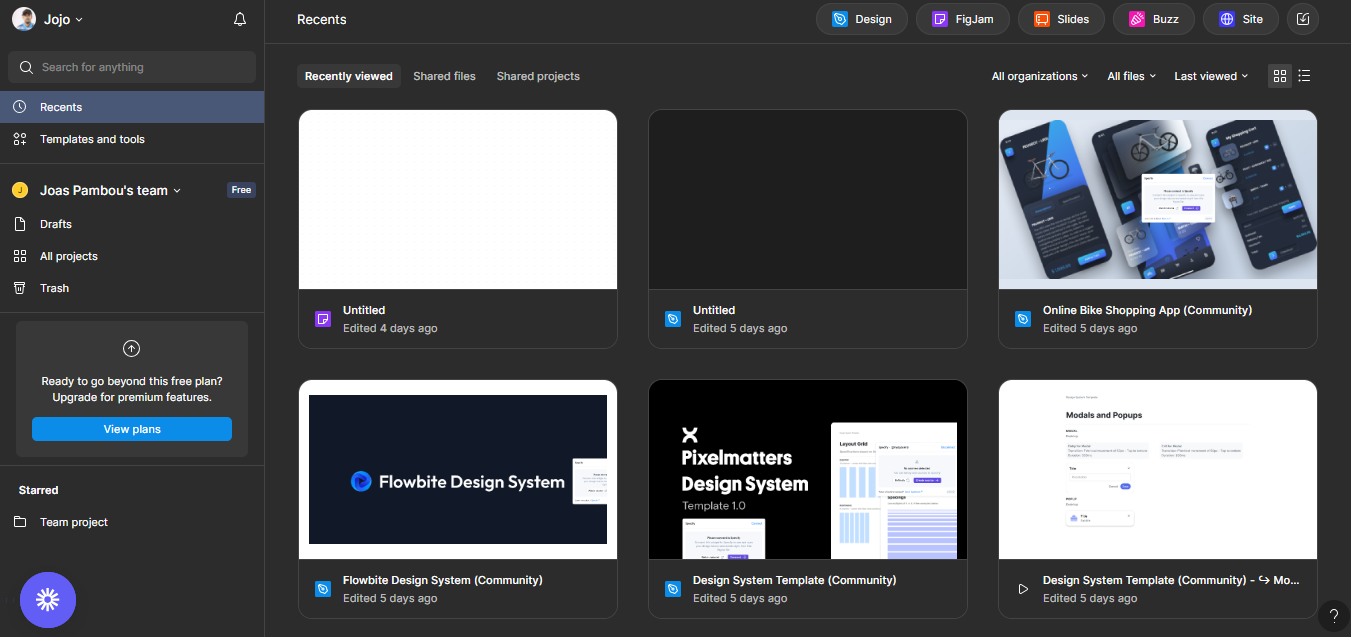
From here, it’s time to set up your design tokens. You can either create everything from scratch or use a template from the Figma community to save time. Templates are a great option if you don’t want to build everything yourself. But if you prefer full control, creating your setup totally works too.
There are other ways to get tokens as well. For example, a site like namedesigntokens.guide lets you generate and download tokens in formats like JSON. The only catch is that Figma doesn’t let you import JSON directly, so if you go that route, you’ll need to bring in a middle tool like Specify to bridge that gap. It helps sync tokens between Figma, GitHub, and other places.
For this article, though, we’ll keep it simple and stick with Figma. Pick any design system template from the Figma community to get started; there are plenty to choose from.
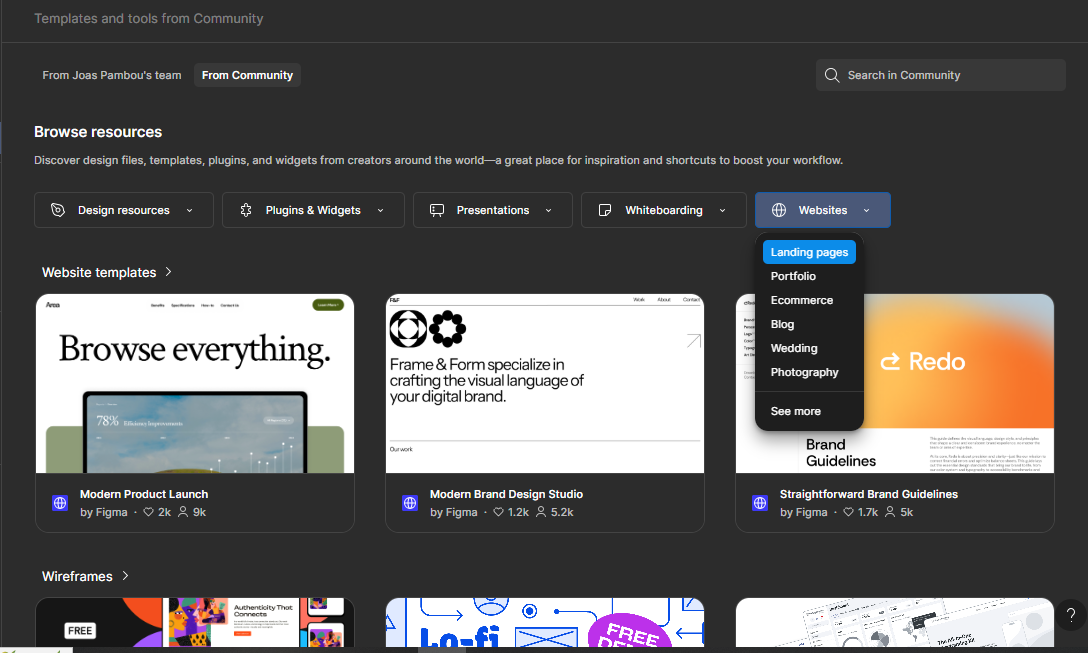
Depending on the template you choose, you’ll get a pre-defined set of tokens that includes colors, typography, spacing, components, and more. These templates come in all types: website, e-commerce, portfolio, app UI kits, you name it. For this article, we’ll be using the /Design-System-Template–Community because it includes most of the tokens you’ll need right out of the box. But feel free to pick a different one if you want to try something else.
Once you’ve picked your template, it’s time to download the tokens. We’ll use Supernova, a tool that connects directly to your Figma file and pulls out design tokens, styles, and components. It makes the design-to-code process a lot smoother.
Step 1: Sign Up on Supernova
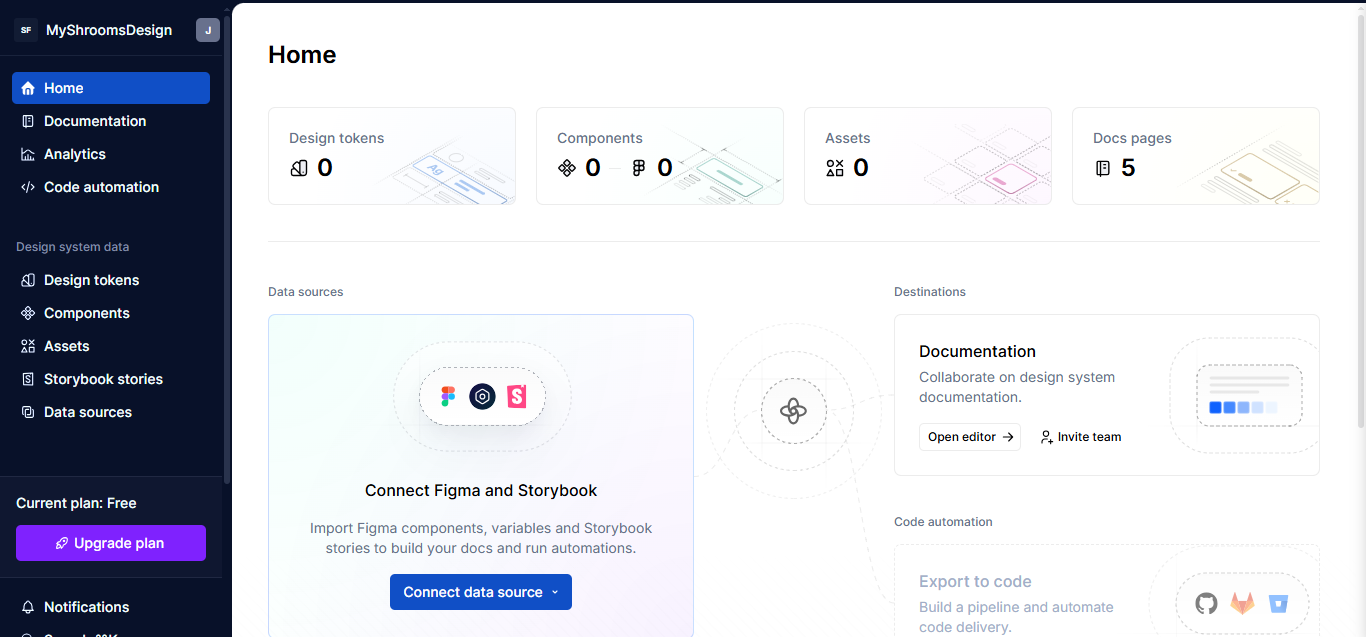
Go to supernova.io and create an account. Once you’re in, you’ll land on a dashboard that looks like this:
Step 2: Connect Your Figma File #
To pull in the tokens, head over to the Data Sources section in Supernova and choose Figma from the list of available sources. (You’ll also see other options like Storybook or Figma variables, but we’re focusing on Figma.) Next, click on Connect a new file, paste the link to your Figma template, and click Import.
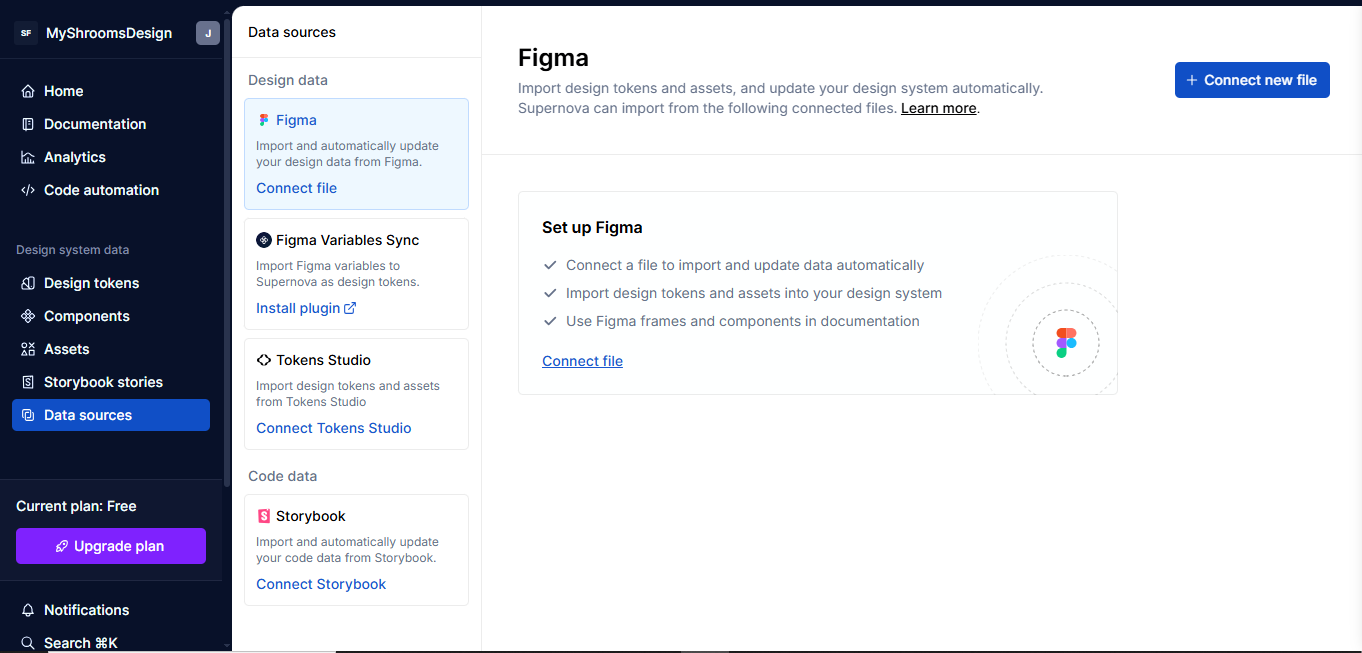
Supernova will load the full design system from your template. From your dashboard, you’ll now be able to see all the tokens.
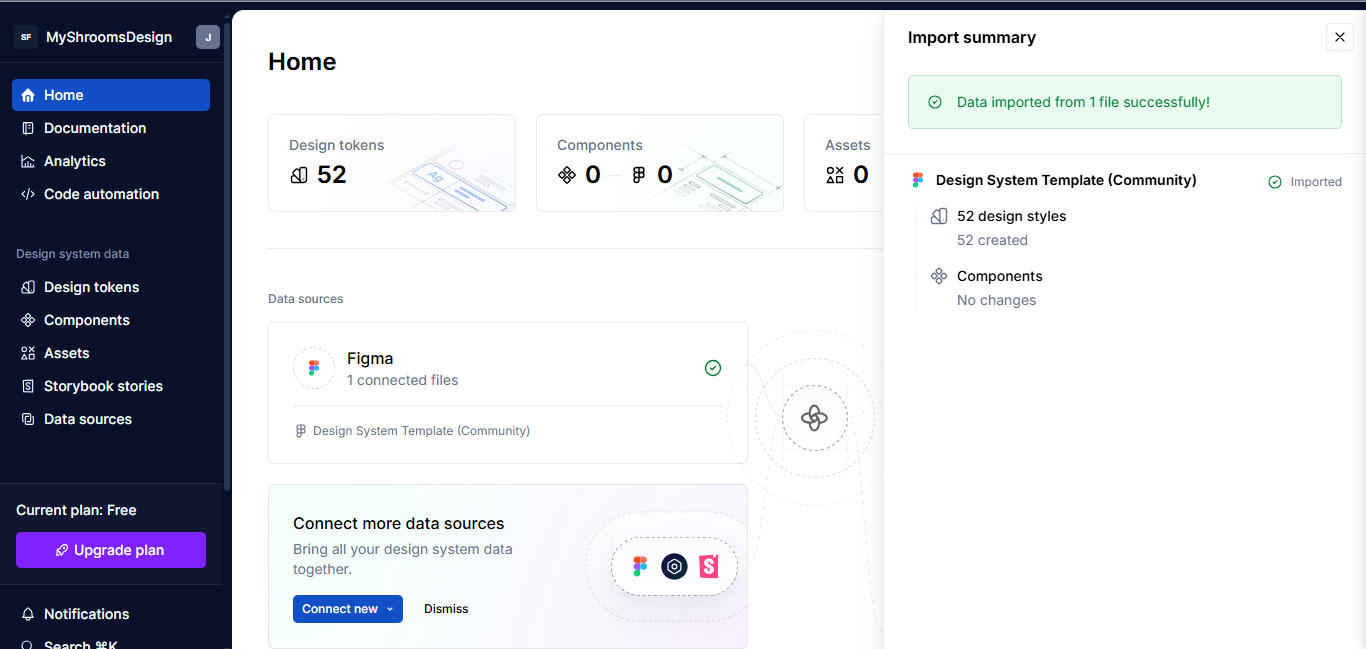
Turning Tokens Into Code #
Design tokens are great inside Figma, but the real value shows when you turn them into code. That’s how the developers on your team actually get to use them.
Here’s the problem: Many teams default to copying values manually for things like color, spacing, and typography. But when you make a change to them in Figma, the code is instantly out of sync. That’s why automating this process is such a big win.
Instead of rewriting the same theme setup for every project, you generate it, constantly translating designs into dev-ready assets, and keep everything in sync from one source of truth.
Now that we’ve got all our tokens in Supernova, let’s turn them into code. First, go to the Code Automation tab, then click New Pipeline. You’ll see different options depending on what you want to generate: React Native, CSS-in-JS, Flutter, Godot, and a few others.
Let’s go with the CSS-in-JS option for the sake of demonstration:
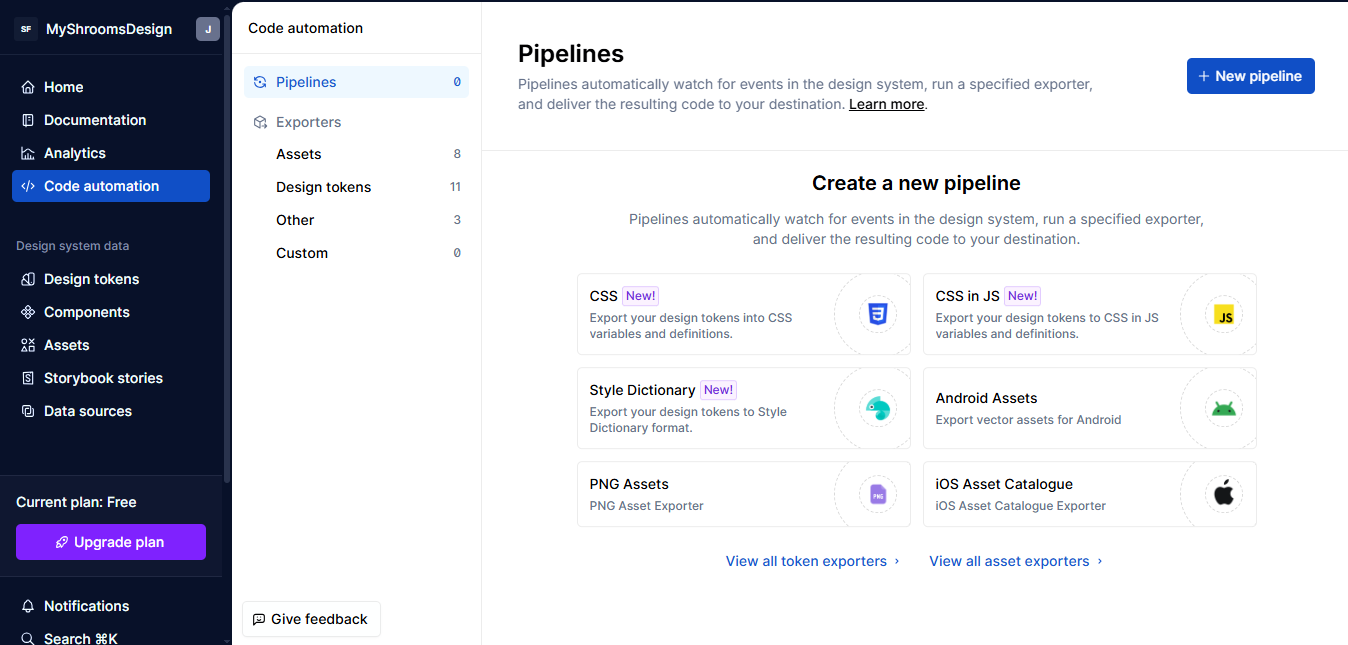
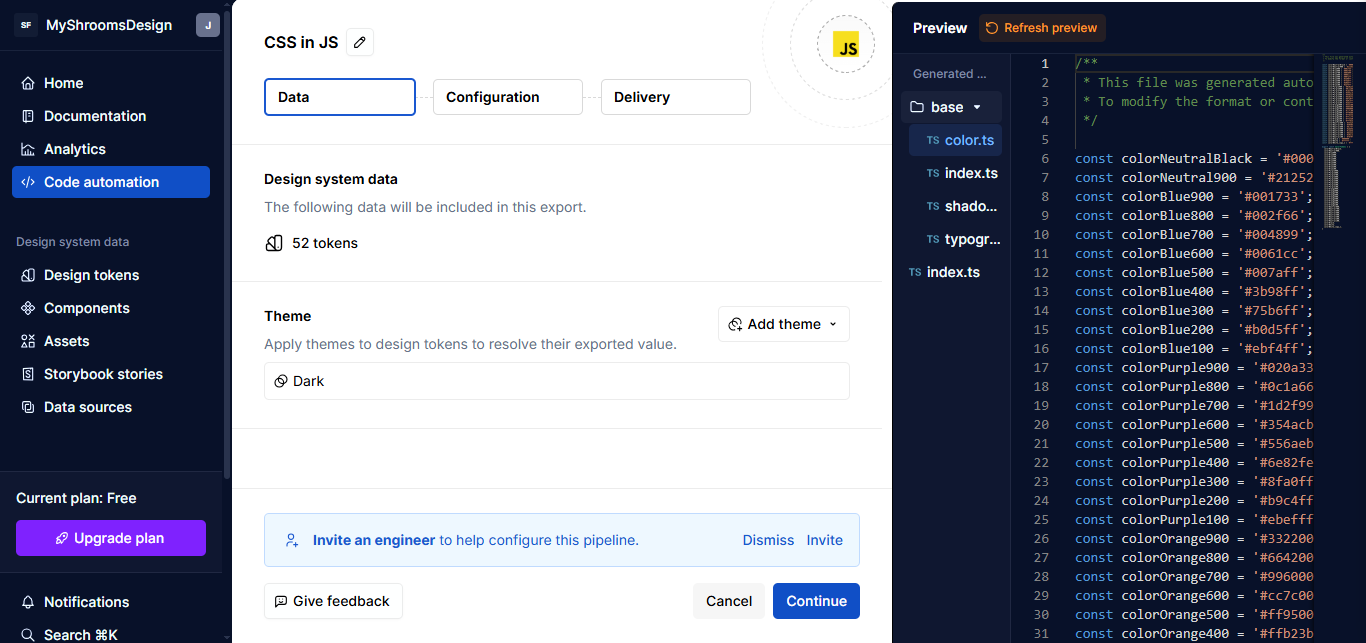
After that, you’ll land on a setup screen with three sections: Data, Configuration, and Delivery.
Data #
Here, you can pick a theme. At first, it might only give you “Black” as the option; you can select that or leave it empty. It really doesn’t matter for the time being.
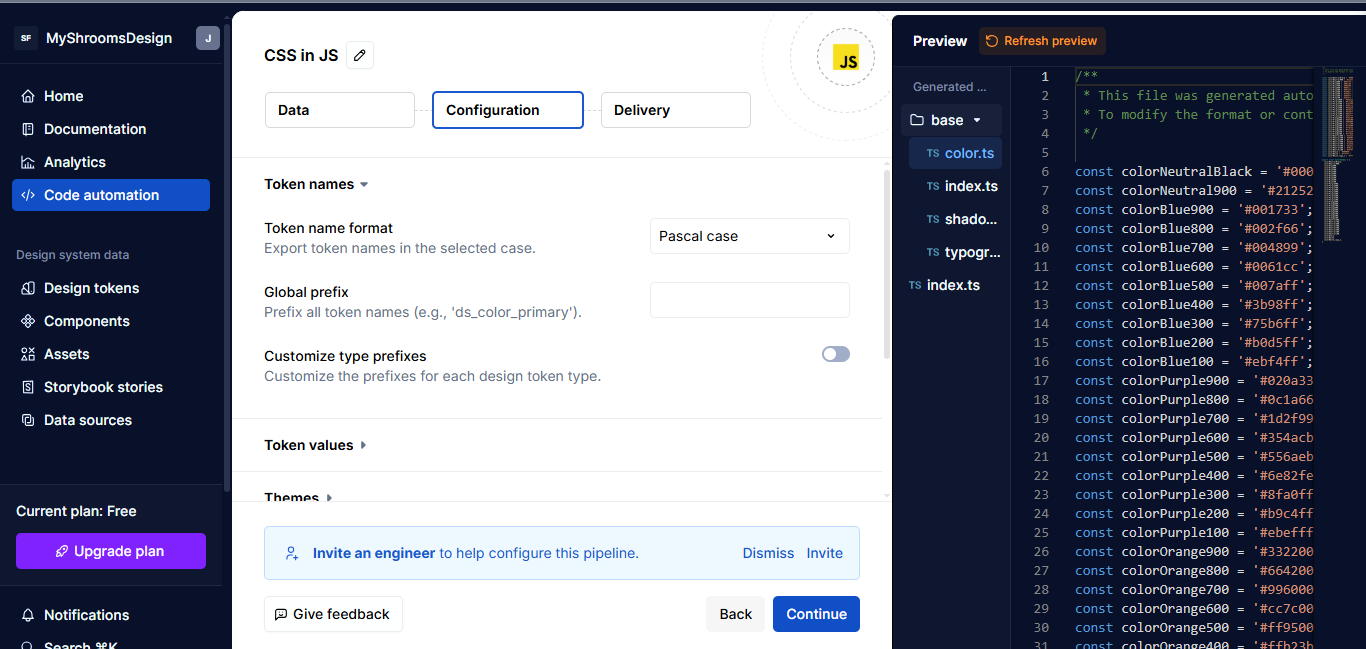
Configuration #
This is where you control how the code is structured. I picked PascalCase for how token names are formatted. You can also update how things like spacing, colors, or font styles are grouped and saved.
Delivery #
This is where you choose how you want the output delivered. I chose “Build Only”, which builds the code for you to download.
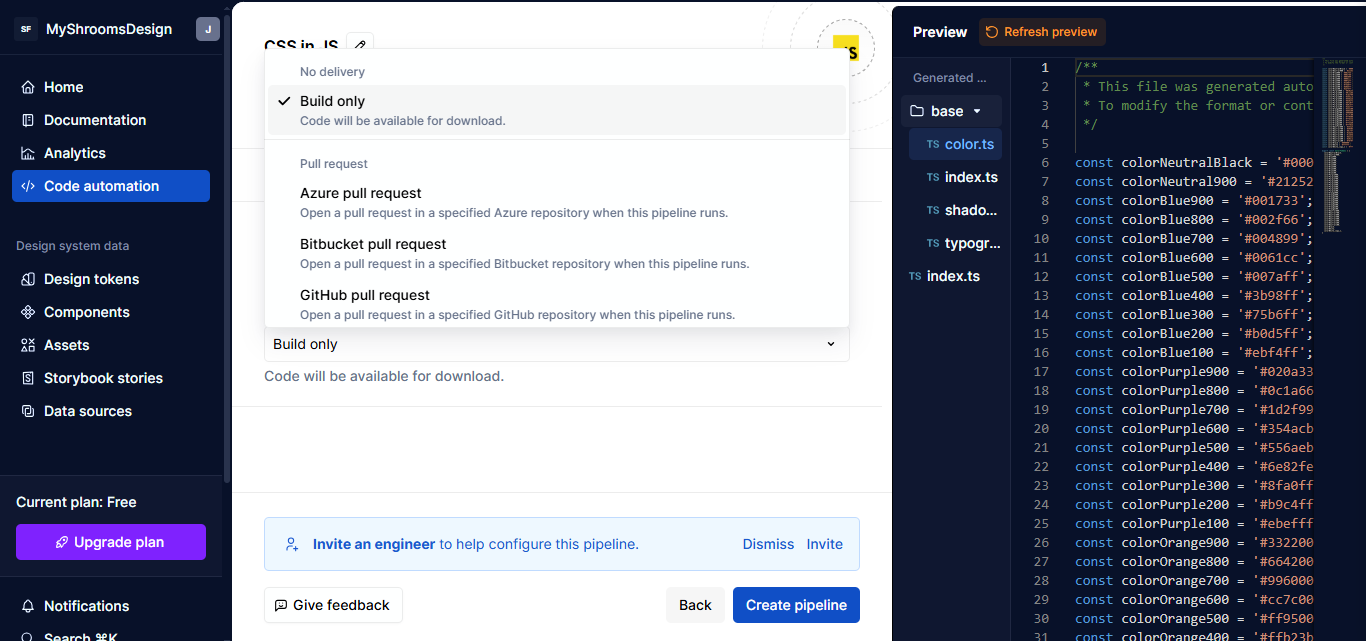
Once you’re done, click Save. The pipeline is created, and you’ll see it listed in your dashboard. From here, you can download your token code, which is already generated.
Automating Documentation
So, what’s the point of documentation in a design system?
You can think of it as the instruction manual for your team. It explains what each token or component is, why it exists, and how to use it. Designers, developers, and anyone else on your team can stay on the same page — no guessing, no back-and-forth. Just clear context.
Let’s continue from where we stopped. Supernova is capable of handling your documentation. Head over to the Documentation tab. This is where you can start editing everything about your design system docs, all from the same place.
You can:
- Add descriptions to your tokens,
- Define what each base token is for (as well as what it’s not for),
- Organize sections by colors, typography, spacing, or components, and
- Drop in images, code snippets, or examples.
You’re building the documentation inside the same tool where your tokens live. In other words, there’s no jumping between tools and no additional setup. That’s where the automation kicks in. You edit once, and your docs stay synced with your design source. It all stays in one environment.
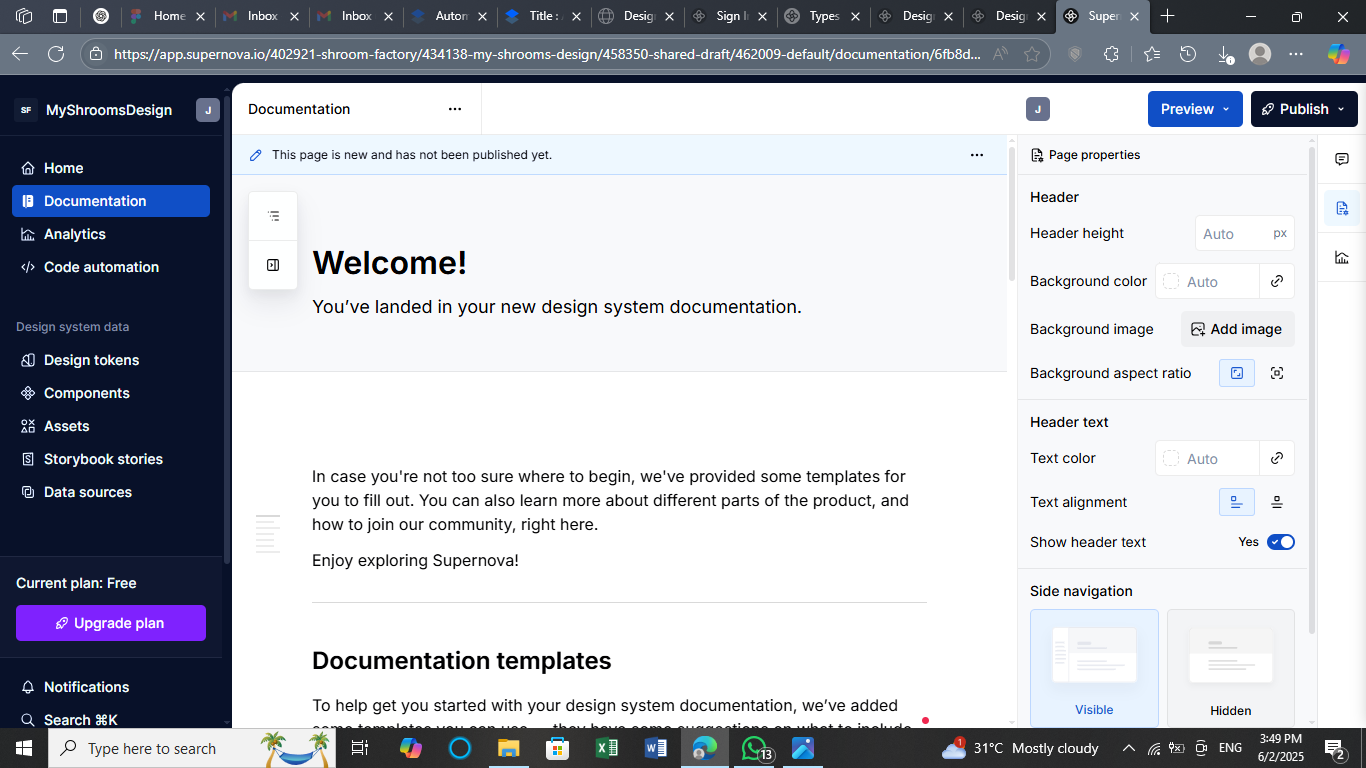
Once you’re done, click Publish and you will be presented with a new window asking you to sign in. After that, you’re able to access your live documentation site.
Practical Tips For Automations #
Automation is great. It saves hours of manual work and keeps your design system tight across design and code. The trick is knowing when to automate and how to make sure it keeps working over time. You don’t need to automate everything right away. But if you’re doing the same thing over and over again, that’s a kind of red flag.
A few signs that it’s time to consider using automation:
- You’re using the same styles across multiple platforms (like web and mobile).
- You have a shared design system used by more than one team.
- Design tokens change often, and you want updates to flow into code automatically.
- You’re tired of manual updates every time the brand team tweaks a color.
There are three steps you need to consider. Let’s look at each one.
Step 1: Keep An Eye On Tools And API Updates
If your pipeline depends on design tools, like Figma, or platforms, like Supernova, you’ll want to know when changes are made and evaluate how they impact your work, because even small updates can quietly affect your exports.
It’s a good idea to check Figma’s API changelog now and then, especially if something feels off with your token syncing. They often update how variables and components are structured, and that can impact your pipeline. There’s also an RSS feed for product updates.
The same goes for Supernova’s product updates. They regularly roll out improvements that might tweak how your tokens are handled or exported. If you’re using open-source tools like Style Dictionary, keeping an eye on the GitHub repo (particularly the Issues tab) can save you from debugging weird token name changes later.
All of this isn’t about staying glued to release notes, but having a system to check if something suddenly stops working. That way, you’ll catch things before they reach production.
Step 2: Break Your Pipeline Into Smaller Steps
A common trap teams fall into is trying to automate everything in one big run: colors, spacing, themes, components, and docs, all processed in a single click. It sounds convenient, but it’s hard to maintain, and even harder to debug.
It’s much more manageable to split your automation into pieces. For example, having a single workflow that handles your core design tokens (e.g., colors, spacing, and font sizes), another for theme variations (e.g., light and dark themes), and one more for component mapping (e.g., buttons, inputs, and cards). This way, if your team changes how spacing tokens are named in Figma, you only need to update one part of the workflow, not the entire system. It’s also easier to test and reuse smaller steps.
Step 3: Test The Output Every Time
Even if everything runs fine, always take a moment to check the exported output. It doesn’t need to be complicated. A few key things:
- Are the token names clean and readable?
If you see something likePrimaryColorColorText, that’s a red flag. - Did anything disappear or get renamed unexpectedly?
It happens more often than you think, especially with typography or spacing tokens after design changes. - Does the UI still work?
If you’re using something like Tailwind, CSS variables, or custom themes, double-check that the new token values aren’t breaking anything in the design or build process.
To catch issues early, it helps to run tools like ESLint or Stylelint right after the pipeline completes. They’ll flag odd syntax or naming problems before things get shipped.
How AI Can Help
Once your automation is stable, there’s a next layer that can boost your workflow: AI. It’s not just for writing code or generating mockups, but for helping with the small, repetitive things that eat up time in design systems. When used right, AI can assist without replacing your control over the system.
Here’s where it might fit into your workflow:
Naming Suggestions
When you’re dealing with hundreds of tokens, naming them clearly and consistently is a real challenge. Some AI tools can help by suggesting clean, readable names for your tokens or components based on patterns in your design. It’s not perfect, but it’s a good way to kickstart naming, especially for large teams.
Pattern Recognition
AI can also spot repeated styles or usage patterns across your design files. If multiple buttons or cards share similar spacing, shadows, or typography, tools powered by AI can group or suggest components for systemization even before a human notices.
Automated Documentation
Instead of writing everything from scratch, AI can generate first drafts of documentation based on your tokens, styles, and usage. You still need to review and refine, but it takes away the blank-page problem and saves hours.
Here are a few tools that already bring AI into the design and development space in practical ways:
- Uizard: Uizard uses AI to turn wireframes into designs automatically. You can sketch something by hand, and it transforms that into a usable mockup.
- Anima: Anima can convert Figma designs into responsive React code. It also helps fill in real content or layout structures, making it a powerful bridge between design and development, with some AI assistance under the hood.
- Builder.io: Builder uses AI to help generate and edit components visually. It’s especially useful for marketers or non-developers who need to build pages fast. AI helps streamline layout, content blocks, and design rules.
Conclusion
This article is not about achieving complete automation in the technical sense, but more about using smart tools to streamline the menial and manual aspects of working with design systems. Exporting tokens, generating docs, and syncing design with code can be automated, making your process quicker and more reliable with the right setup.
Instead of rebuilding everything from scratch every time, you now have a way to keep things consistent, stay organized, and save time.
Further Reading
- “Design System Guide” by Romina Kavcic

