In this article, I will show you how to enable FTP on your Windows Azure instance.
By default, FTP feature will not be enabled when you spin up a new
Azure instance. However, this does not mean that you cannot install FTP
on the Azure instance. You can still install and enable FTP service
manually.
There are 2 ways of installing this feature manually. First, enable
Remote Desktop on your Azure instance and install it via Remote Desktop
when the Azure instance is ready. The downside of using this method is
that whatever changes you made using Remote Desktop will be lost once
the Azure instance is being recycled. Therefore, don’t be surprised if
you notice your FTP site went missing suddenly.
The second method is to write script to install this feature when the
Azure instance is started. This will ensure that your FTP site will
remain even when the Azure instance is being recycled. Steps below will
guide you how to install FTP feature using script & code.
- Install FTP feature in IIS, and enable firewall rules for FTP on
startup. Do this by creating a startup command that calls the PowerShell
script below.
Import-Module ServerManager
Add-WindowsFeature Web-Ftp-Server
# open up firewall port for port 21 (the default firewall rules only
allow services spawned from svchost.exe to be allowed FTP access!)
netsh advfirewall firewall delete rule name=FTP
netsh advfirewall firewall add rule name="FTP" dir=in action=allow service=any profile=public localport=21 protocol=tcp
-
Enable EndPoint on port 21 for your Azure Instance in the ServiceDefinition.csdef file.
<Endpoints>
<InternalEndpoint name="FtpEndpoint" protocol="tcp" port="21" />
</Endpoints>
-
Add reference of Microsoft.Web.Administration.dll into your solution.
-
Add FTP site into IIS.
ServerManager sm = new ServerManager();
Site ftpsite = sm.Sites.Add("FtpSite", "ftp", ":21:", "C:\\ftproot\\");
ftpsite.ServerAutoStart = true;
ConfigurationElement ssl = ftpsite.GetChildElement("ftpServer").GetChildElement("security").GetChildElement("ssl");
ssl.SetAttributeValue("controlChannelPolicy", "SslAllow");
ssl.SetAttributeValue("dataChannelPolicy", "SslAllow");
ConfigurationElement auth =
ftpsite.GetChildElement("ftpServer").GetChildElement("security").GetChildElement("authentication").GetChildElement("basicAuthentication");
auth.SetAttributeValue("enabled", true);
sm.CommitChanges();
-
Add user to FTP site.
ServerManager sm = new ServerManager();
Configuration config = sm.GetApplicationHostConfiguration();
ConfigurationSection authSection = config.GetSection("system.ftpServer/security/authorization", "FtpSite");
ConfigurationElementCollection authCollection = authSection.GetCollection();
authCollection.Clear();
ConfigurationElement addElement = authCollection.CreateElement("add");
addElement.SetAttributeValue("accessType", "Allow");
addElement.SetAttributeValue("users", "myftpuser");
addElement.SetAttributeValue("permissions", "Read, Write");
authCollection.Add(addElement);
sm.CommitChanges();
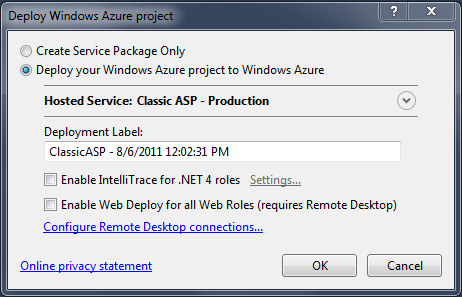
Finally, package and deploy your solution into Windows Azure and you have a FTP enabled site on the cloud.
Note:
- The files you send in will not be persisted. Those files may be
deleted if the role is being recycled. So, it’s advised to store the
files you need in some persisted location.
- FTP port may be different depending on which port you choose to use.
- If your FTP user is not the same as your Remote Desktop user, you may need to create the user first.